
If you want to add a spooky touch to your Halloween decorations this year, consider transforming store-bought foam tombstones into custom masterpieces. With materials like PEX or PVC pipe, rebar, and tools like 3D letters and a Dremel, you can easily upgrade these tombstones with your own epitaphs and unique designs. From sanding off unwanted decorations to sealing painted foam with acrylic paint, this DIY project offers a fun and creative way to enhance your haunted house or yard display for Halloween. By following the simple techniques outlined in this article, you can create realistic and personalized tombstones that will surely impress your neighbors and trick-or-treaters alike.


Materials and Tools
When upgrading tombstones, the materials and tools needed are essential for a successful transformation. PEX or PVC pipe, rebar, 3D letters, and a Dremel are crucial components for ensuring your tombstone makeover is a success. These materials will allow you to create a unique and realistic look for your Halloween decorations.
PEX or PVC Pipe
These pipes serve as a base for your tombstone, providing structure and stability. PEX or PVC pipes are commonly used in DIY projects due to their versatility and durability. By utilizing these pipes, you can create a sturdy foundation for your tombstone makeover.
Rebar
Rebar is essential for securing your tombstones in place. By using rebar, you can ensure that your decorations withstand the elements and stay firmly anchored in the ground. This will prevent any mishaps or accidents during the Halloween season.
3D Letters
3D letters are a creative way to add personalized epitaphs to your tombstones. These letters can easily be attached to the surface of the tombstone, adding a unique touch to your Halloween decorations. By incorporating 3D letters, you can customize your tombstones to fit your desired theme or style.
Dremel
A Dremel is a versatile tool that can be used for a variety of tasks, including carving, engraving, and sanding. When upgrading tombstones, a Dremel is essential for adding intricate details and fine-tuning the overall look of the decoration. This tool will allow you to achieve precise results and create a professional finish for your tombstones.
Process Overview
The process of upgrading tombstones involves several key steps to ensure a successful transformation. By following these steps, you can achieve a realistic and unique look for your Halloween decorations.
Sanding off unwanted decorations
Before adding your own touches to the tombstone, it is essential to sand off any unwanted decorations. This will provide a clean canvas for your makeover and allow you to start fresh with your design. By removing existing details, you can customize the tombstone to fit your desired theme or style.
Adding own epitaphs
Personalizing your tombstone with your own epitaphs is a creative way to make your Halloween decorations stand out. Whether you choose to carve the epitaphs with a Dremel or use 3D letters, adding personalized messages will give your tombstones a unique and memorable touch. This step allows you to add a personal flair to your decorations and make them truly your own.
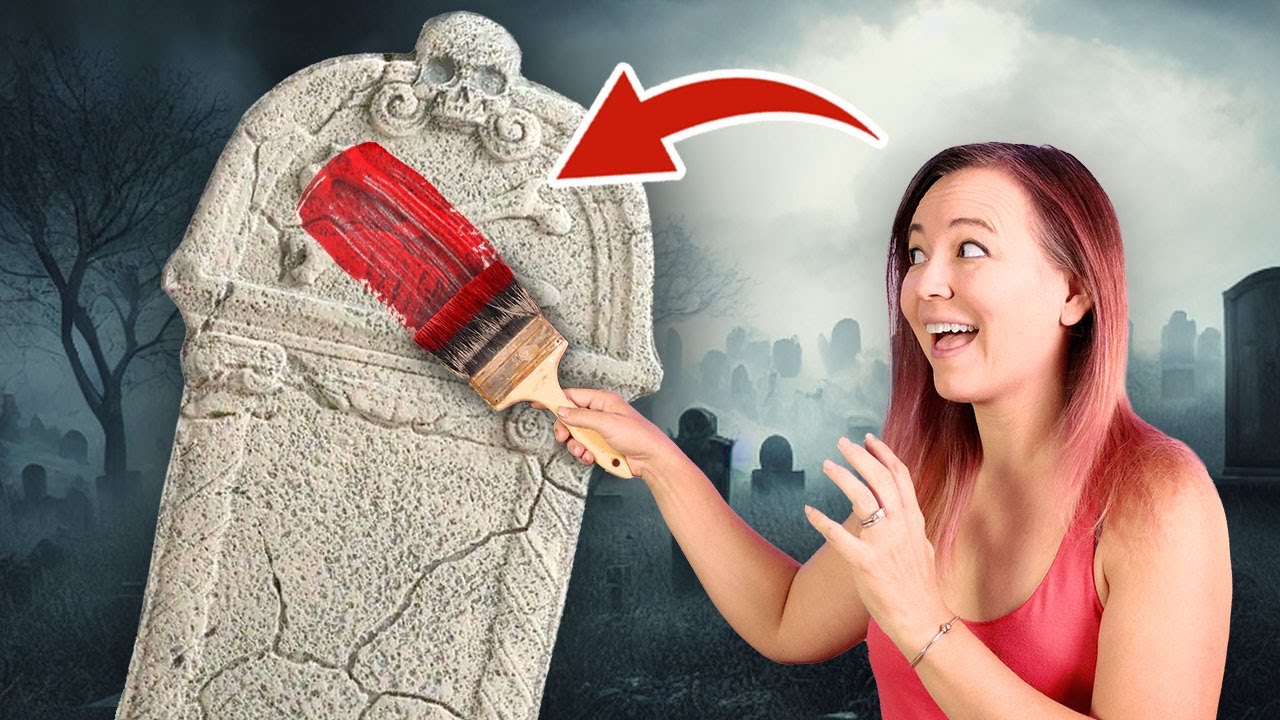
Painting with Drylok and acrylic paint
To finalize the upgrade of your tombstones, painting them with Drylok and acrylic paint is essential. Drylok is a masonry sealer that provides a base coat and texture to the tombstone, giving it a realistic and weathered look. By adding layers of acrylic paint on top, you can enhance the details and add depth to the design. This step will help bring your tombstones to life and create a spooky atmosphere for Halloween.
DIY Tombstone Tutorial
If you prefer to make tombstones from scratch, a DIY tutorial is available to guide you through the process. By following the tutorial, you can create custom tombstones that fit your specific needs and preferences. This option allows you to get creative and design tombstones that are truly one-of-a-kind.

Upgrading Foam Tombstones
Foam tombstones from various stores can be upgraded with easy techniques to make them more realistic and unique. By following simple steps, you can transform store-bought foam tombstones into custom Halloween props for haunted houses or yard displays. Raised letters save time compared to carving, providing a quick and effective way to enhance the appearance of foam tombstones.
Maintenance Tips
Address common questions about keeping tombstones in place and sealing painted foam to ensure your decorations remain intact throughout the Halloween season. By following maintenance tips, you can prolong the lifespan of your tombstones and keep them looking their best year after year. Whether securing tombstones with rebar or applying a protective sealant, proper maintenance is key to preserving your Halloween decorations.
Enhancing Realism
Fine-tuning shapes and adding texture are crucial steps for achieving a more realistic look with your tombstones. By focusing on details and adding weathered effects, you can create a spooky and authentic atmosphere for Halloween. Using Drylok as a base coat and texture will enhance the overall appearance of the tombstones and add depth to the design.
Securing Tombstones
Using the rebar and tube method is a reliable way to secure tombstones in place and prevent them from blowing away in the wind. By anchoring the tombstones securely, you can ensure that your decorations remain stable and intact throughout the Halloween season. This method provides a sturdy foundation for your tombstones and minimizes the risk of damage or displacement.
Adding Weathering Effects
Create weathering effects with paint and water drips to add a realistic and aged look to your tombstones. By simulating years of wear and tear on the surface of the tombstones, you can achieve an authentic appearance that enhances the spooky ambiance of your Halloween decorations. Adding weathering effects is a simple yet effective way to elevate the realism of your tombstones.
Final Touches
Applying light dirt, dry brushing, and sealing with acrylic paint are the final touches that will complete the transformation of your tombstones. By adding subtle details and finishing touches, you can enhance the overall look of your decorations and create a cohesive and polished appearance. These final steps will give your tombstones a professional and high-quality finish that is sure to impress on Halloween night.
Conclusion
In conclusion, upgrading tombstones for Halloween is a fun and creative project that allows you to showcase your DIY skills and creativity. By using simple techniques and materials, you can transform store-bought tombstones into custom decorations that reflect your personal style and preferences. Whether making tombstones from scratch or upgrading foam tombstones, there are endless possibilities for creating unique and spooky Halloween props. Stay wicked and have a spooktacular Halloween!
