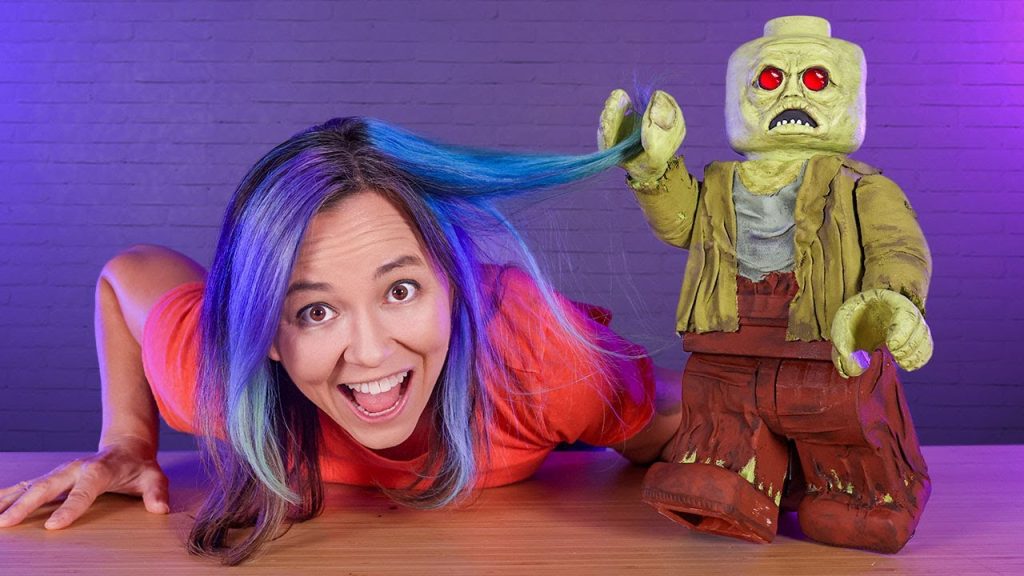
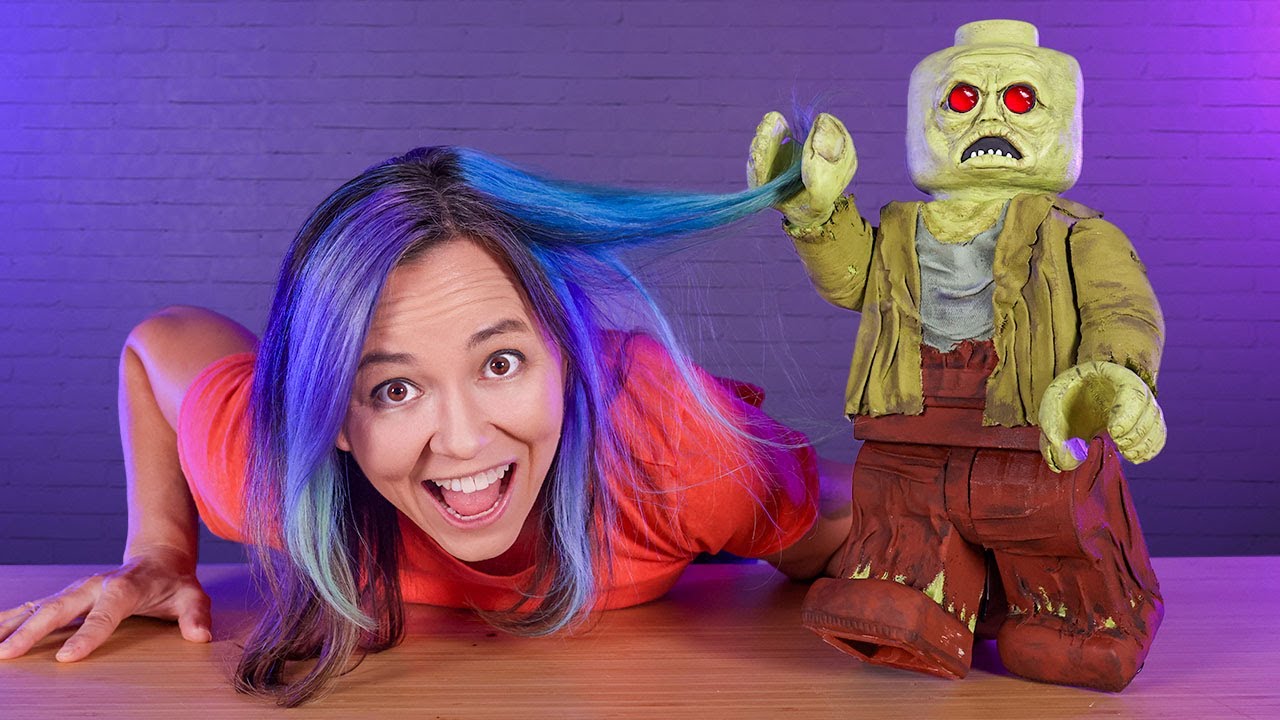
You’re about to embark on an exciting journey into the world of building a giant animatronic LEGO Minifigure with Jaimie and Jay. Inspired by animatronics and spooky Halloween props, they created a monstrous masterpiece that wowed audiences at a local LEGO Club. From 3D printing to sculpting and painting, the process of bringing this animatronic Minifigure to life was nothing short of magical. Their video showcases the entire journey from prototyping to final painting, and they express their gratitude to supporters and patrons for their unwavering support.
Join Jaimie and Jay on their quest to create an animatronic LEGO Minifigure and witness the intense dedication and creativity that went into this project. With a blend of DIY animatronics and LEGO inspiration, they brought Zeke the Zombie to life in a way that captivated LEGO fans of all ages. As they showcased their creation at a LEGO summer camp and received rave reviews, the passion and effort put into this project shined through. Get ready to dive deep into the world of animatronics and LEGO creations in this thrilling journey of building a giant LEGO Minifigure.
Jaimie and Jay build a GIANT animatronic LEGO Minifig!
WHY AN ANIMATRONIC LEGO ZOMBIE?!
Jay and I have been wanting to build a custom LEGO inspired spooky Halloween prop for years. We both grew up building LEGO and our kids are both obsessed. Since we started learning how to build our own DIY animatronics, we decided that an animatronic LEGO minifig would be awesome, and the Zeke the Zombie mini figure from the Scooby Doo set would be the perfect inspiration.
To bring our LEGO zombie to life, we first made a cardboard prototype and used that to figure out how to make him animated and our servo placement. Then we modified a 3D model (https://www.printables.com/model/4117…) and 3D printed out all the pieces. Next we sculpted on top of our base minifigure with Apoxie sculpt to give him a creepy realistic texture and glued fabric on to make his clothes. Finally we painted him and programmed his animation using Bottango (https://www.bottango.com/).
For the ultimate test, we brought our animatronic minifigure to our son’s LEGO summer camp at ESTEAM Academy to see what the kids thought of it. They all LOVED it!
Zeke the zombie is going to make an awesome addition to our DIY Halloween decorations. Let us know which characters or Halloween props you want us to build next!
Stay Wicked!
Inspiration
As you embark on this journey of creating a giant animatronic LEGO Minifigure, remember that your inspiration for this project stemmed from a love for animatronics and spooky Halloween props. The idea of bringing to life a LEGO monster that can both excite and scare people is what drove you to start this endeavor with passion and creativity.
Creators
The masterminds behind this incredible project are Jaimie and Jay. These two innovative individuals came together to combine their skills and ideas to bring to life a giant animatronic LEGO Minifigure. With their shared love for crafting, designing, and animatronics, they embarked on this thrilling adventure to dazzle and entertain others.
Project Overview
Your goal is to build a giant animatronic LEGO Minifigure that will captivate audiences with its unique design and functionality. The project aims to showcase your creativity and technical skills in sculpting, painting, and programming, all culminating in the creation of a lifelike LEGO monster that will leave a lasting impression on viewers.

Creation Process
The process of bringing this animatronic LEGO Minifigure to life involves a combination of 3D printing, sculpting, and painting. Each stage requires precision, attention to detail, and a creative eye to ensure that the final result meets your vision and exceeds expectations. By merging technology with traditional craftsmanship, you will embark on a creative journey unlike any other.
Prototyping
Before diving into the intricate details of sculpting and painting, the initial stage of the project involves prototyping. This step allows you to test your ideas, refine the design, and ensure that all the components fit together seamlessly. By creating a cardboard prototype, you can visualize the structure, placement of servos, and overall feasibility of your animatronic LEGO Minifigure.
Sculpting
Shaping the design of the Minifigure through sculpting is a critical phase of the project. Using epoxy sculpt, you will have the opportunity to bring your creature to life by adding realistic features, such as eyes, mouth, and clothing. Drawing inspiration from renowned cosplayers and spooky Halloween props, you will merge various elements to create a unique and captivating character that will stand out in any setting.
Painting
The final touch of painting is where your animatronic LEGO Minifigure will truly come to life. By meticulously adding colors, textures, and details to your creation, you will enhance its realism and depth. Matching the paint colors to the original LEGO design while incorporating your own aesthetic flair will elevate the overall appearance of your monster and make it a standout piece in any display.
Showcase
After countless hours of dedication and hard work, the time has come to display your final animatronic LEGO monster. Showcasing your creation at a local LEGO Club will not only inspire others but also provide a platform to share your passion and craftsmanship with a broader audience. Witnessing the reactions of fellow LEGO enthusiasts and art lovers will be a rewarding experience that validates your efforts and creativity.
Video Documentation
To document the journey from prototyping to final painting, capturing the entire process in a video will allow you to showcase the intricate steps and techniques involved in creating your animatronic LEGO Minifigure. By sharing this behind-the-scenes footage, you can offer insights, tips, and inspiration to fellow creators and enthusiasts who may be embarking on similar projects.
Acknowledgments
As you embark on this creative endeavor, take a moment to express gratitude to your supporters and patrons who have encouraged and inspired you along the way. Their unwavering support, feedback, and encouragement have played a crucial role in shaping your project and fueling your passion for art and innovation. Acknowledging their contribution is a way to honor their commitment and show appreciation for their role in your creative journey.


