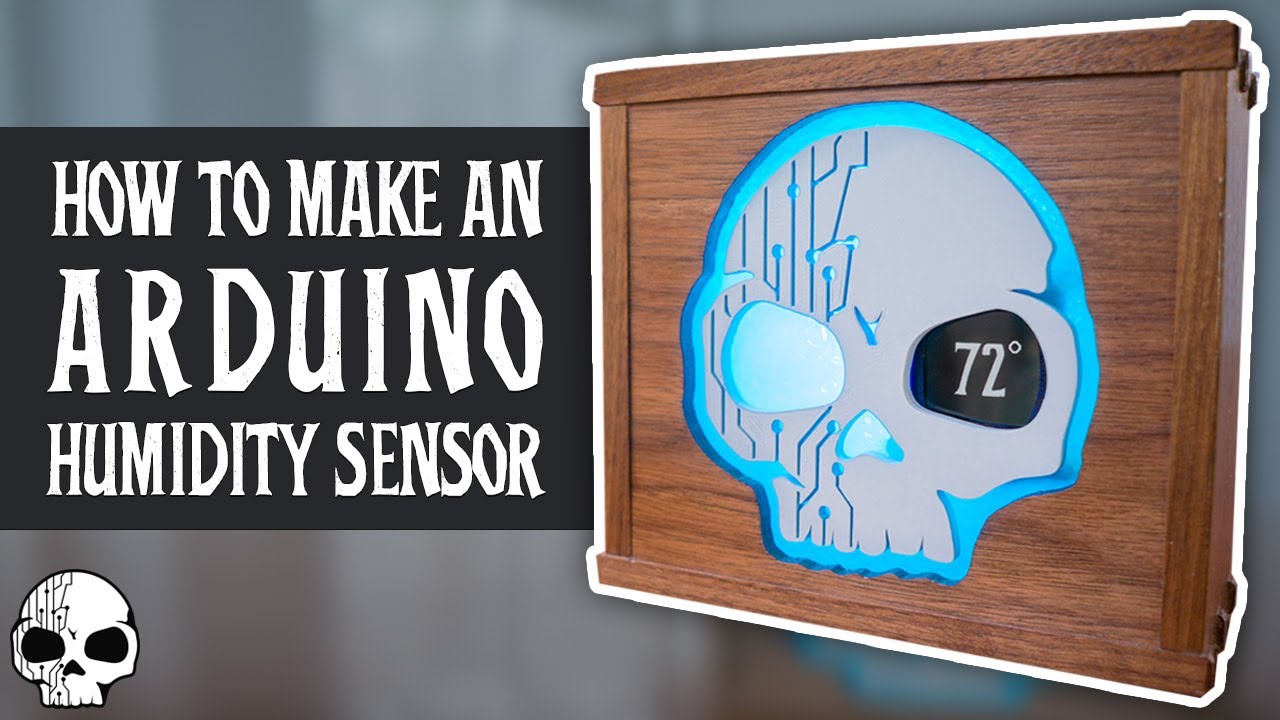
In this article, you will find a detailed breakdown of the DIY Arduino LED Skull Shop Sensor project created by Jay, Jaimie, and Colin. From woodworking to 3D printing, and beginner electronics, this project covers it all. The team used Arduino Uno and components from Adafruit to monitor humidity and temperature in their woodshop, located in Central Texas with fluctuating humidity and temperature levels. The sensor not only helps prevent damage to woodworking projects but also features a stylish design with their logo.
Jay, Jaimie, and Colin take you through the process of building the sensor, from creating a walnut case to 3D printing a skull logo, soldering electronic components, and programming the Arduino Uno. The end result is a functional and visually appealing sensor that lights up based on humidity levels. This project serves as a learning experience about Arduino technology, shared through a comprehensive video tutorial by Wicked Makers.

Overview
Creating an Arduino LED Skull Shop Sensor involves combining woodworking, 3D printing, and beginner electronics to develop a temperature and humidity monitoring system for a workshop. This project aims to prevent damage to woodworking projects by providing real-time alerts for changing environmental conditions, particularly in regions like Central Texas where humidity and temperature fluctuations are common. By utilizing Arduino Uno and components from Adafruit, this project not only offers functionality but also adds a touch of style with a custom logo design.
Introduction
In this project, Jay, Jamie, and Colin from Wicked Makers showcase the construction of an Arduino-powered 3D printed skull temperature and humidity sensor tailored for a woodshop. Through a blend of woodworking techniques, 3D printing, and electronics assembly, the team chronicles the process of creating a stylish and functional monitor that illuminates based on humidity levels.
Project Description
The DIY Arduino LED Skull Shop Sensor integrates various components like the Arduino Uno, Adafruit Neopixel Ring, Adafruit 1.44″ LCD Screen, DHT22 Humidity Sensor, 4x AA Battery Pack, and a Mini-SD Card. Tools like a 3D printer, router, utility knife, soldering iron, clamps, and many others are utilized to bring this project to life. Materials such as walnut for the wooden case, Frostic Acrylic for light diffuser, and PLA for the 3D printed skull logo are used in the construction process.
Components Used
To create the Arduino LED Skull Shop Sensor, several key components are essential:
- Arduino Uno
- Adafruit Neopixel Ring
- Adafruit 1.44″ LCD Screen
- DHT22 Humidity Sensor
- 4x AA Battery Pack
- Mini-SD Card
Tools Used
Various tools play a crucial role in fabricating this sensor, including:
- 3D Printer
- Router
- Utility Knife
- File
- Clamps
- Soldering Iron
- Solder
- Hot Glue Gun
- Tape Measure
- Pencil
- Chisel
- Marking Gauge
- Planer
- Jointer
- Bandsaw
- Tablesaw
- Rotary Tool / Dremel
- Drill Press
Materials Used
The creation of this project involves the use of specific materials, such as:
- Walnut (Wooden Case)
- Frostic Acrylic (Light Diffuser)
- PLA (3D Printed Skull Logo)
- Wood Glue
- Super Glue
- Hot Glue
- Blue Painters Tape
- Double-sided Scotch Tape
- Shellac
Project Details
The project unfolds in different phases:
Woodworking Phase
The initial phase involves preparing the wooden case by milling, cutting, and joining pieces to construct a sturdy and aesthetically pleasing housing for the sensor.
3D Printing Phase
In this stage, the team utilizes 3D printing technology to fabricate a skull logo design that will serve as an integral part of the sensor’s visual appeal.
Electronics Assembly Phase
The integration of electronic components like the Arduino Uno, Neopixel Ring, LCD Screen, and Humidity Sensor is a crucial step in assembling the functional aspects of the sensor.
Programming Phase
Programming the Arduino Uno to gather data from the humidity sensor and display it on the LCD Screen is the final step that brings all components together to create a fully operational sensor system.
Functionality
The Arduino LED Skull Shop Sensor functions to:
- Monitor humidity and temperature levels in real time
- Aid in preventing potential damage to woodworking projects due to environmental changes
- Provide alerts for fluctuating humidity and high levels to prompt necessary actions
Aesthetics
The project focuses on delivering a sensor that not only serves a functional purpose but also boasts an elegant design, featuring a custom logo and illumination effects based on humidity levels for added visual appeal.
Location
Situated in Central Texas, where humidity and temperature variations are frequent, the sensor is designed to address the specific environmental challenges of the region.
Conclusion
In summary, the project undertaken by Jay, Jamie, and Colin showcases the creation of an Arduino-powered 3D printed skull temperature and humidity sensor for woodworking environments. Through detailed documentation and a video tutorial, the team dives into the process of building the sensor, emphasizing the blend of woodworking craftsmanship, 3D printing technology, and electronics prototyping. By leveraging Arduino technology, the team produces a sensor that not only serves a functional purpose but also adds a touch of style to the woodshop setting. Through sharing their experience, the team aims to educate and inspire others to embark on similar creative projects.


