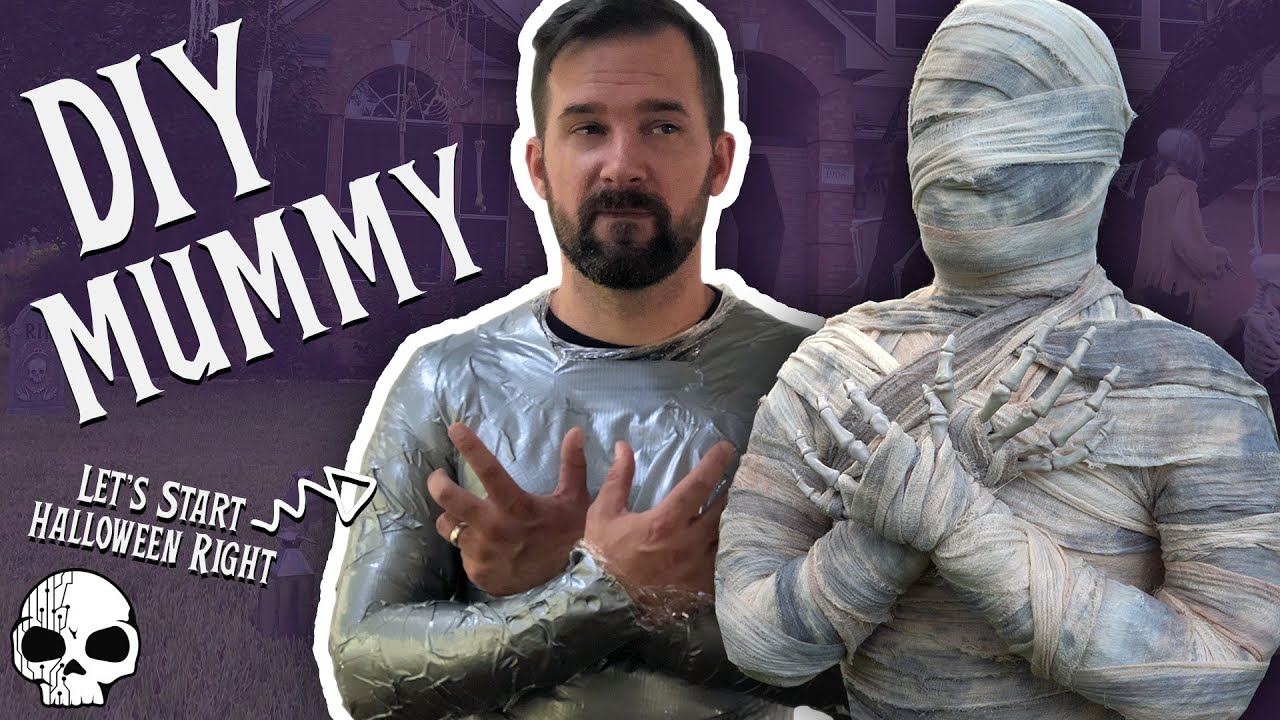
You’re about to embark on an exciting DIY project to create your very own Halloween Mummy! This fun and easy project will elevate your Halloween decorations and provide hours of creative entertainment. With simple materials and minimal tools required, you’ll have a life-sized, realistic mummy in just a few hours. From making a duct tape form to stuffing it with upcycled newspaper, this project is perfect for getting into the Halloween spirit and a fantastic activity to do with the kids. Get ready to add a spooky touch to your Halloween setup with this DIY Halloween Mummy!
As you follow along with Jaimie & Jay from Wicked Makers, you’ll learn the step-by-step process to bring your mummy to life. From creating a body form with duct tape to adding a spine with thick metal wire, each stage of the project is carefully explained to ensure a successful outcome. With a final touch of staining the cheesecloth with black tea and adding an aged look with a brown and black wash, your DIY Halloween Mummy will be a festive and spooky addition to your Halloween decor. Get ready to impress your guests and have a blast bringing this mummy to life!
Making the Duct Tape Form
Creating a body form using duct tape is the foundation of making a DIY Halloween Mummy. Utilize plastic wrap to prevent the tape from sticking to your skin or clothes. Drawing lines during this process will help with reassembly later on.
Create the body form using duct tape
Start by making a body form using duct tape. Ensure to cover it with plastic wrap to avoid any sticking. Additionally, draw lines on the form for easier reassembly later.
Use plastic wrap to prevent sticking
Cover the duct tape form with plastic wrap before proceeding to the next steps. This will make it easier to remove the form without any hassle.
Draw lines for reassembly later
Drawing lines on the body form will help when reassembling it after cutting it apart. This step is crucial for maintaining the shape of the mummy.
Filling the Mummy
Filling the mummy with recycled newspapers is the next step. A metal wire can act as a spine for support, and duct tape is used to hold everything together.
Stuff the mummy with recycled newspapers
Fill the duct tape form with recycled newspapers to give the mummy its shape and volume. This step is essential in creating a realistic-looking mummy.
Use metal wire as a spine for support
Insert a metal wire as a spine from the head to the feet to provide support and help the mummy stand upright. This wire ensures the mummy maintains its shape and posture.
Tape the mummy back together with duct tape
Once the mummy is stuffed and the wire is in place, use duct tape to wrap and secure the mummy back together. This step is crucial in finalizing the structure of the mummy.

Wrapping the Mummy
Wrapping the mummy with cheesecloth creates the outer appearance. Cut the cheesecloth into strips, stain with black tea for an aged look, and paint the body form to prepare for wrapping.
Cut cheesecloth into strips
Cutting the cheesecloth into thin strips is necessary for wrapping the mummy. These strips will be used to cover the entire body form.
Stain with black tea for an aged look
Stain the cheesecloth with black tea to give it an aged and weathered appearance. This step adds a realistic touch to the mummy’s wrapping.
Use white spray paint on body form
Spray painting the body form white before wrapping it with cheesecloth will prevent the bright white cloth from showing through. This creates a more convincing mummy appearance.
Adding Details
Incorporating additional details like skeletal hands and applying an acrylic wash for an aged appearance enhances the mummy’s realism.
Test wrap to ensure enough cheesecloth
Before wrapping the mummy with cheesecloth, do a test wrap to ensure you have enough material. Adjust as needed to cover the entire mummy.
Incorporate life-sized skeletal hands
Using life-sized skeletal hands adds a spooky touch to the mummy. Secure them in place with the cheesecloth wrapping for a more realistic effect.
Apply acrylic wash for an aged appearance
To give the mummy an aged and dirty look, apply a watered-down brown and black acrylic wash. This step adds texture and depth to the mummy’s wrapping.
Final Touches
Completing the mummy with final wrapping, ensuring it looks aged and dirty, and displaying your DIY Halloween Mummy with pride are the finishing touches of the project.
Complete the mummy with final wrapping
Wrap the mummy with the stained cheesecloth, incorporating all the details and ensuring a cohesive look. This step finalizes the mummy’s appearance.
Ensure mummy looks aged and dirty
Make sure the mummy has an aged and dirty look, adding to its spooky and realistic appearance. The details and finishing touches are crucial in achieving this effect.
Display your DIY Halloween Mummy with pride
Once the mummy is completed, proudly display it as a DIY Halloween decoration. Show off your creativity and craftsmanship in making a life-sized, realistic mummy.


