
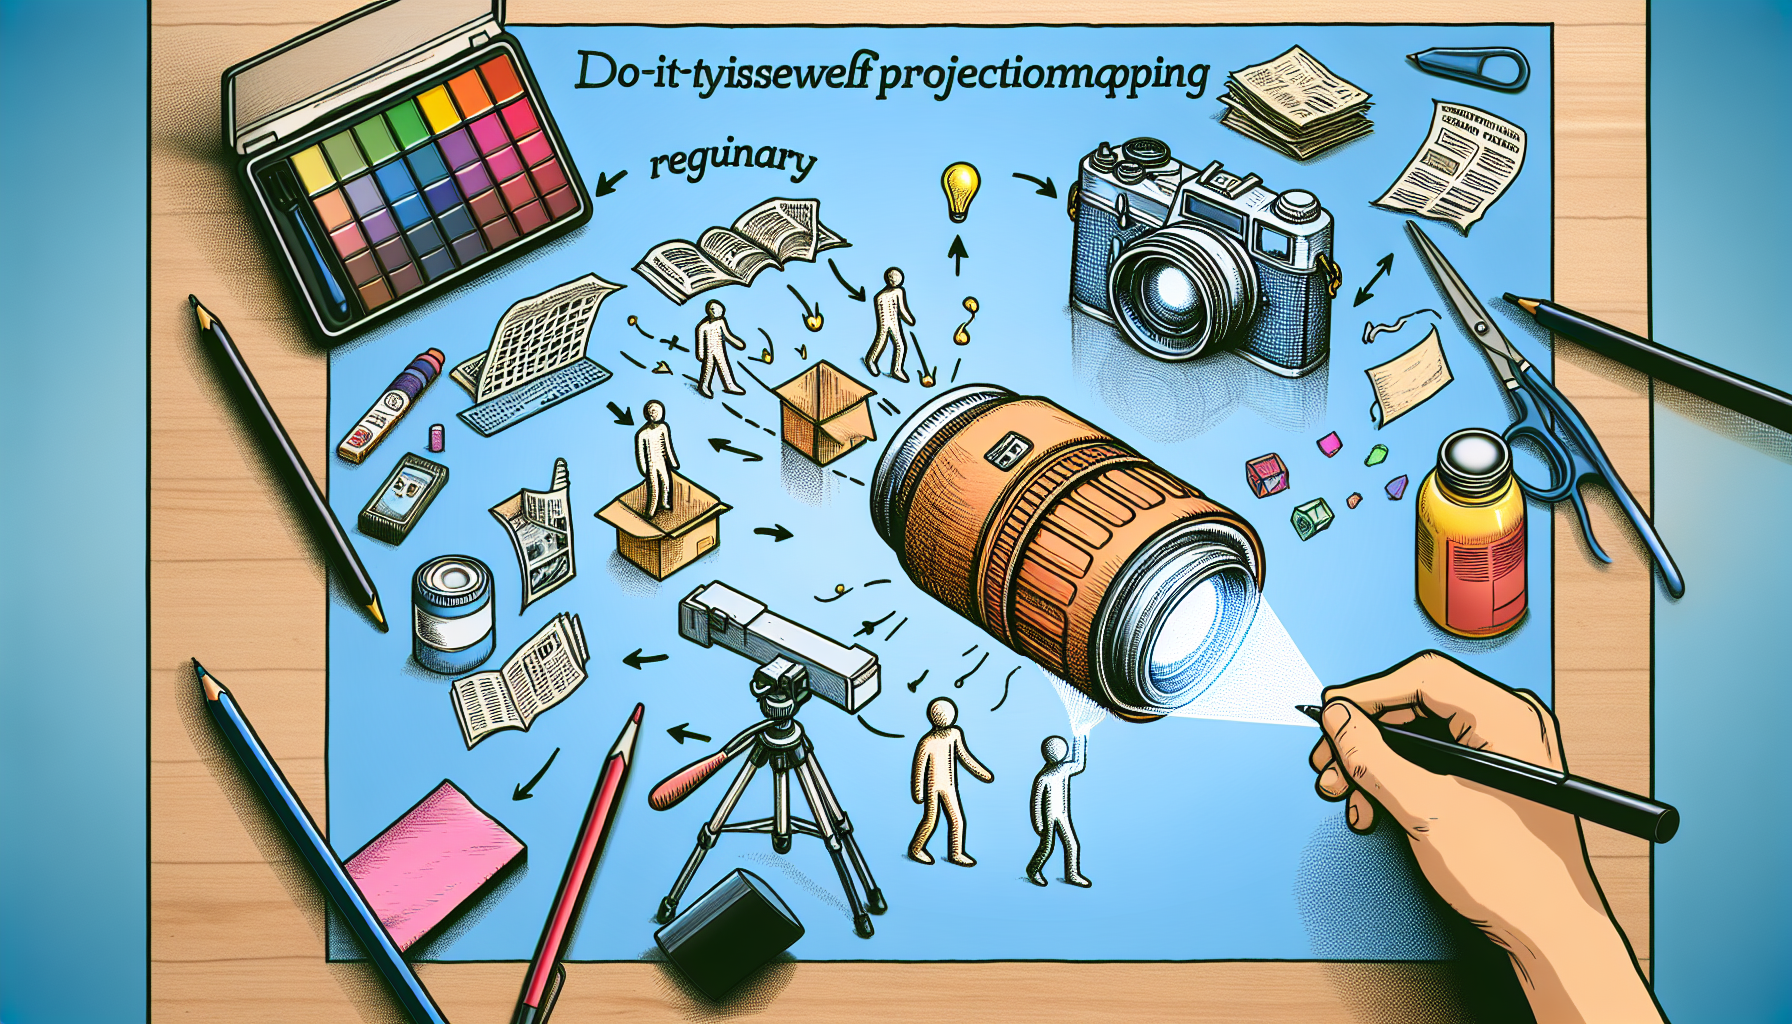
You can transform your space with this DIY AtmosFx Projection Mapping tutorial using CapCut! Whether you’re a beginner or a seasoned creator, follow our step-by-step guide to bring your imagination to life.
Create stunning AtmosFx Projection Mapping with this DIY guide using CapCut. Transform any space into a captivating visual experience. Learn step-by-step techniques to synchronize AtmosFx animations with CapCut for seamless projection mapping. Elevate your events and decor with this accessible and engaging tutorial.
PROJECTOR MAPPING SOFTWARE: (Free Windows only)
- Click here to download the free projector mapping software.
CAPCUT VIDEO EDITOR: (Free Windows Version works Great!)
- Click here to download the free CapCut video editor.
ATMOS AFFILIATE LINKS:
- Click here to explore Atmos affiliate links.
OTHER AFFILIATE LINKS:
- Click here for Govee product affiliate link.
- Click here to check out Jmarts Projector Mapping Videos on Amazon for portable LED projectors. Step into the world of DIY projection mapping with this engaging tutorial on AtmosFx Projection Mapping using CapCut. Whether you’re a beginner or an experienced creator, this step-by-step guide will teach you how to create stunning visual effects and synchronize animations with CapCut for seamless projection mapping. From setting up the projection outdoors to using various props like ghosts and pumpkins, this tutorial covers all the essential tips and tricks. The video also includes timestamps for easy navigation, and the creator provides affiliate links for purchasing the necessary equipment.
Prepare to transform your space and elevate your events with this captivating DIY AtmosFx Projection Mapping tutorial using CapCut. Follow along with JMART’s HAUNT as they demonstrate the process of creating a mesmerizing visual experience. Learn how to use free projector mapping software, synchronize animations with CapCut, and set up your own outdoor projection show. With step-by-step instructions and helpful guidance, this tutorial is perfect for anyone interested in exploring the world of projection mapping.

1. Introduction to Projection Mapping
Projection mapping is a popular technique used to transform ordinary objects or surfaces into dynamic displays by projecting images or videos onto them. This innovative technology has revolutionized the way we experience visual storytelling and has found applications in various fields, from advertising to live events and interior design.
What is projection mapping?
Projection mapping, also known as video mapping or spatial augmented reality, involves precisely mapping projected images onto irregular surfaces to create the illusion of movement and depth. By aligning the projected content with the contours and shapes of these surfaces, projection mapping artists can transform buildings, sculptures, or even everyday objects into captivating visual displays.
Benefits of projection mapping
Projection mapping offers several benefits over traditional flat-screen displays or static signage. Firstly, it creates an immersive and interactive experience for viewers, captivating their attention and allowing them to engage with the content on a deeper level. This can be particularly powerful in advertising or live events, where the goal is to create a memorable and impactful experience.
Projection mapping also allows for more creative flexibility, as it can transform any object or surface into a dynamic canvas. This opens up endless possibilities for artistic expression and storytelling, enabling creators to bring their imagination to life in unique and unexpected ways.
Applications of projection mapping
Projection mapping has found a wide range of applications in various industries. In the world of advertising, it has been used to create attention-grabbing and memorable campaigns. From projecting advertisements onto buildings to transforming entire cityscapes into immersive advertisements, projection mapping offers a new level of engagement and impact.
In the entertainment industry, projection mapping has become a popular tool for creating captivating stage productions and live events. From concerts and theater performances to theme park attractions, projection mapping brings scenes and sets to life, adding a dynamic and visually stunning element to the overall experience.
Interior designers and architects have also embraced projection mapping as a way to transform physical spaces. By projecting virtual elements onto surfaces, they can create the illusion of different architectural styles, textures, and colors, allowing for more versatility and flexibility in design.
2. AtmosFx Projection Mapping with CapCut
AtmosFx Projection Mapping is a widely used technology that provides a vast library of high-quality digital decorations for projection mapping. These digital decorations can be combined with CapCut, a powerful video editing software, to create stunning projection mapping experiences.
Overview of AtmosFx Projection Mapping
AtmosFx Projection Mapping offers a collection of digital decorations that are specifically designed for projection mapping projects. These decorations include a variety of themes, such as Halloween, holidays, celebrations, and more. They provide ready-to-use animations and effects that can be easily projected onto objects or surfaces.
Introduction to CapCut video editor
CapCut is a user-friendly video editing software that is compatible with both Windows and Mac operating systems. It offers a range of features and tools that allow users to edit, enhance, and customize videos for projection mapping projects.
Importance of CapCut for projection mapping
CapCut plays a crucial role in the projection mapping process by allowing users to edit and customize the AtmosFx decorations according to their specific needs. With its intuitive interface and powerful editing capabilities, CapCut enables users to synchronize AtmosFx animations with the projected surfaces, adjust timing and transitions, and fine-tune visual effects.
How CapCut enhances the projection mapping experience
CapCut enhances the projection mapping experience by providing a seamless and efficient workflow for editing and manipulating digital decorations. Its user-friendly interface and intuitive tools make it accessible for both beginners and experienced creators. By using CapCut, users can unleash their creativity and bring their vision to life with ease.
3. Step-by-Step Tutorial
This step-by-step tutorial will guide you through the process of creating a stunning AtmosFx Projection Mapping project using CapCut. Follow these instructions to bring your imagination to life and create a captivating visual experience.
Introduction to the DIY project
In this DIY project, we will transform an ordinary space into a mesmerizing projection mapping setup. We will provide detailed instructions on setting up the necessary equipment, installing and configuring CapCut, preparing the props for projection mapping, synchronizing AtmosFx animations with CapCut, and testing and adjusting the projection mapping setup.
Materials and equipment needed
To get started, you will need the following materials and equipment:
- Projector: Choose a projector that fits your needs and budget. Consider factors such as brightness, resolution, and connectivity options.
- Projection surface: Select a suitable surface for projection mapping. It can be a wall, building façade, or any other object with a flat or irregular surface.
- Laptop or computer: You will need a computer to run CapCut and synchronize your animations.
- CapCut software: Download and install CapCut on your computer. Follow the instructions provided by the software manufacturer.
- AtmosFx digital decorations: Browse the AtmosFx website and choose the digital decorations that best fit your project’s theme and desired effects.
- Props and accessories: Depending on your chosen theme, gather props and accessories such as ghosts, pumpkins, or other relevant items.
Setting up the projector
Position the projector in the desired location, ensuring it is secure and stable. Connect the projector to a power source and your computer. Adjust the projector’s settings, such as brightness and focus, according to the projection surface and ambient lighting conditions.
Installing and configuring CapCut
Download CapCut from the official website and follow the installation instructions provided. Once installed, launch the software and familiarize yourself with its interface and features. Adjust the settings and preferences according to your requirements.
Preparing the props for projection mapping
Arrange the props and accessories in a way that creates an appealing visual composition for projection mapping. Ensure that the props are clean and in good condition. You may need to attach additional mounting hardware or supports to the props to position them correctly.
Creating a seamless projection mapping setup
Refer to the map created earlier to align the projected images with the props and surfaces. Use the masking feature in CapCut to isolate specific areas of the digital decorations for accurate alignment. Adjust the size, position, and orientation of the projected images to create a seamless and visually pleasing composition.
Synchronizing AtmosFx animations with CapCut
Import the selected AtmosFx digital decorations into CapCut. Arrange the animations on the timeline, adjusting their duration, order, and timing to create a cohesive visual narrative. Experiment with different effects and transitions to enhance the overall projection mapping experience.
Tips for achieving stunning projection mapping effects
- Choose high-quality digital decorations that suit your desired theme and atmosphere.
- Experiment with different projection surfaces and angles to create unique visual effects.
- Optimize the projector settings for the best image quality and brightness.
- Take lighting conditions into consideration and adjust the projection accordingly.
- Use the masking feature in CapCut to precisely align the animations with the props or surfaces.
- Test and fine-tune the projection mapping setup to ensure a seamless and immersive experience.
Testing and adjusting the projection mapping setup
Before showcasing your projection mapping project, thoroughly test the setup to identify any issues or areas for improvement. Adjust the props, projector settings, and animations as needed. Pay attention to the visual quality, alignment, and overall cohesiveness of the projection mapping effects.
Finalizing the DIY projection mapping project
Once you are satisfied with the projection mapping setup, finalize the project by documenting the settings, configurations, and adjustments made. This will allow for easy replication in future projects or for sharing the process with others. Share your finished projection mapping project with others and receive feedback to further improve your skills and techniques.
4. Projection Mapping Outdoors
While projection mapping can be done indoors, taking the technology outdoors opens up new and exciting possibilities. However, there are some unique considerations and challenges to keep in mind when venturing into outdoor projection mapping.
Considerations for outdoor projection mapping
Outdoor projection mapping introduces additional challenges such as ambient light, weather conditions, and the need for a secure setup. Before proceeding with an outdoor projection mapping project, consider the following factors:
-
Ambient light: The natural or artificial light present in the outdoor environment can impact the visibility and effectiveness of the projection. Choose a location with minimal ambient light or consider adjusting the timing of the projection to coincide with darker hours of the day.
-
Weather conditions: Outdoor projections are exposed to the elements, including rain, wind, and temperature fluctuations. Ensure that all equipment and props are weatherproofed and protected from potential damage. Consider using waterproof covers for projectors and securing all connections to prevent water infiltration.
-
Power source: Outdoor locations may not have easily accessible power sources. Plan ahead and ensure you have a reliable power supply for the projector and any other equipment you are using.
Choosing the right location
Selecting the right location is crucial for a successful outdoor projection mapping project. Look for surfaces or objects that are suitable for projection, taking into consideration their size, texture, and visibility. Additionally, consider the audience’s viewing experience and the accessibility of the location.
Identify any potential obstacles or obstructions that may affect the projection, such as trees, buildings, or uneven surfaces. Choose a location that allows for optimal positioning of the projector and props, ensuring a clear and unobstructed projection area.
Dealing with ambient light
Ambient light can significantly impact the visibility and clarity of outdoor projections. To minimize the effects of ambient light, consider the following strategies:
-
Time the projection: Choose a time of day when ambient light is at a minimum, such as dusk or nighttime, to ensure the projected images are clearly visible.
-
Use a high-brightness projector: Select a projector with high brightness levels to combat the effects of ambient light. This will help maintain image quality and visibility, even in brighter outdoor environments.
-
Adjust projection settings: Experiment with projection settings such as contrast, brightness, and color saturation to achieve optimal visibility. Consider using darker or more contrasting elements in the animations to stand out against the ambient light.
Weatherproofing the setup
Ensure that all equipment, including projectors, cables, and props, is properly protected from the elements. Use weatherproof covers and enclosures for projectors and other sensitive equipment to prevent water damage. Secure all connections and cables to minimize the risk of disconnection due to wind or other weather conditions.
Consider using sturdy, weather-resistant props that can withstand outdoor conditions without being damaged or affected by moisture. This will ensure the longevity of your outdoor projection mapping setup.
Securing the equipment
Outdoor locations may present security risks for the equipment used in projection mapping. To prevent theft or damage, take the following precautions:
- Use sturdy mounting or rigging systems to secure the projector in place.
- Consider using lockable enclosures for projectors, particularly in public spaces or high-traffic areas.
- Monitor the projection area during the event to deter potential theft or tampering.
By considering these factors and taking necessary precautions, you can have a successful and secure outdoor projection mapping experience.
5. Props for Projection Mapping Effects
Props play a crucial role in creating stunning projection mapping effects. The choice of props can set the tone and theme of your projection mapping project. From Halloween-themed effects to other visual narratives, the right props can enhance the overall impact and engagement of the projection.
Introduction to various props for projection mapping
When selecting props for projection mapping, consider their size, shape, and compatibility with the projected imagery. Props can range from simple objects like cubes or spheres to more complex shapes like figurines or architectural elements. Choose props that align with your desired theme and create a visual harmony with the projected animations.
Using ghosts and pumpkins for Halloween-themed effects
Ghosts and pumpkins are popular props for Halloween-themed projection mapping effects. The translucent nature of ghosts and the distinct shape of pumpkins provide unique opportunities for creative and spooky visual effects. By projecting animations onto ghost-shaped props or pumpkins, you can create an eerie and immersive atmosphere.
Experiment with different animations, colors, and lighting effects to bring the ghosts and pumpkins to life. Utilize CapCut to synchronize the animations with the projected props, creating a seamless and visually stunning Halloween projection mapping experience.
Exploring other prop options for different themes
While ghosts and pumpkins are commonly associated with Halloween, projection mapping offers endless possibilities for prop selection and theme exploration. Depending on the desired narrative or visual effect, consider using props such as:
-
Architectural elements: Project animations onto architectural features such as columns, arches, or façades to create the illusion of intricate designs or transformations.
-
Nature-inspired props: Incorporate elements from nature, such as trees, flowers, or animals, into your projection mapping setup to create a harmonious and organic visual experience.
-
Abstract shapes: Experiment with abstract props like geometrical shapes, fractals, or textures to create mesmerizing and visually complex projections.
The key is to select props that complement and enhance the projected animations, creating a cohesive and visually captivating projection mapping display.
6. Free Software for Projection Mapping
While some projection mapping software can be quite expensive, there are several free options available that offer powerful features and capabilities. These free software options are a great starting point for beginners or those on a tight budget.
Overview of free projection mapping software options
Here are some popular free software options for projection mapping:
-
MadMapper: MadMapper is a widely used software that offers a free version with limited features. It provides basic mapping capabilities and the ability to import audio and video files for projection mapping projects.
-
HeavyM: HeavyM is another popular free software option for projection mapping. It offers intuitive mapping tools, real-time effects, and the ability to synchronize visuals with external devices like MIDI controllers.
-
VPT (Video Projection Tools): VPT is a free and open-source software that provides mapping, blending, and warping features. It offers flexibility and customizable options for projection mapping projects.
Benefits of using free software
Using free projection mapping software has several benefits, including:
-
Affordability: Free software options eliminate the need for large financial investments, making projection mapping accessible for those on a limited budget.
-
Learning opportunities: Free software allows beginners to explore and experiment with projection mapping techniques without a significant upfront cost. This facilitates learning and skill development in a risk-free environment.
-
Community support: Free software often comes with active user communities, forums, and tutorials. This means that users can access support, guidance, and inspiration from experienced projection mapping enthusiasts.
Recommendation and demonstration of a free software
One highly recommended free software for projection mapping is HeavyM. HeavyM offers an intuitive and user-friendly interface, making it perfect for beginners. It provides a wide range of powerful features, including real-time effects, synchronization with external devices, and customizable mapping capabilities.
To demonstrate the capabilities of HeavyM, we will walk you through a step-by-step tutorial using the software for a projection mapping project. By following our instructions and utilizing HeavyM’s features, you can create stunning projection mapping effects without breaking the bank.
7. CapCut Video Editor
CapCut is a versatile video editing software that can greatly enhance your projection mapping projects. With its range of features and user-friendly interface, CapCut provides powerful tools to edit and customize your projection mapping content. In this section, we will explore the features of CapCut and guide you through using the software for projection mapping.
Introduction to CapCut features and capabilities
CapCut offers a wide range of features and capabilities that allow you to create professional-looking videos for projection mapping. Some of its key features include:
-
Timeline editing: CapCut provides a timeline-based editing interface that allows you to arrange and trim video clips, add effects, and adjust timing with precision.
-
Visual effects: CapCut offers a variety of visual effects, transitions, and filters to enhance your projection mapping content. Experiment with different effects to create stunning visuals that align with your desired theme.
-
Color correction and grading: Adjust the color, saturation, and contrast of your videos to achieve the desired aesthetic for your projection mapping project.
-
Audio editing: CapCut enables you to add and edit audio tracks in your videos, adjusting volume levels, adding sound effects, or synchronizing audio with visuals.
Step-by-step guide to using CapCut for projection mapping
To use CapCut for projection mapping, follow these steps:
- Import your AtmosFx digital decorations and other video assets into CapCut.
- Arrange the video clips on the timeline to synchronize them with your projected animations.
- Trim and adjust the duration of each video clip to align with the desired timing of the projection.
- Experiment with visual effects, transitions, and filters to enhance the impact of your projection mapping content.
- Add background music or sound effects to create a more immersive experience for viewers.
- Fine-tune the color correction and grading settings to achieve the desired visual aesthetic.
- Preview the edited video in CapCut to ensure that the timing, transitions, and effects align with your projection mapping setup.
Tips and tricks for enhancing projection mapping using CapCut
Here are some tips and tricks to enhance your projection mapping using CapCut:
- Experiment with different effects and transitions to create visually appealing sequences.
- Utilize the timeline to adjust the timing and synchronization of the projected animations.
- Take advantage of CapCut’s audio editing capabilities to add sound effects or synchronize audio with the projected visuals.
- Use the color correction and grading features to achieve a consistent visual style and enhance the overall impact of your projection mapping project.
- Preview the edited video in CapCut to ensure that the timing and visual effects align seamlessly with your projection mapping setup.
- Save and export the final edited video in a compatible format for playback on your projection system.
By following these tips and utilizing CapCut’s features effectively, you can create stunning and immersive projection mapping experiences.
8. Necessary Equipment for DIY Project
To successfully undertake a DIY AtmosFx Projection Mapping project, you will need specific equipment that is essential for a seamless setup. Here are the necessary equipment components and some recommended products:
Projector options for projection mapping
Choosing the right projector is crucial for a successful projection mapping project. Consider the following factors when selecting a projector:
-
Brightness: Opt for a projector with high brightness levels to ensure clear and vivid projections, especially in well-lit environments.
-
Resolution: Higher resolutions provide sharper and more detailed images. Choose a projector with a resolution that suits your specific project requirements.
-
Connectivity options: Ensure that the projector has the necessary input ports to connect to your computer or media player.
Recommended brands and models:
-
Epson Pro EX9220: This high-quality projector offers 3600 lumens of brightness, full HD resolution, and a variety of connectivity options.
-
BenQ MH535FHD: With 3600 lumens of brightness and full HD resolution, this projector provides vibrant and detailed projections.
-
Optoma EH412ST: This short-throw projector offers 1080p resolution, 4000 lumens of brightness, and a compact design ideal for smaller spaces.
Additional equipment for seamless setup
In addition to a projector, you may need the following equipment for a seamless projection mapping setup:
-
Projection surface: Choose a suitable surface or object that allows for seamless projection mapping. This could include walls, fabrics, sculptures, or any other flat or irregular surface.
-
Mounting solutions: Ensure that you have the necessary mounting solutions to position and secure the projector in place. This may include tripods, brackets, or suspension systems.
-
Cables and connectors: Use high-quality cables and connectors to ensure reliable and stable connections between the projector, computer, and other devices.
-
Media player: Depending on your project requirements, you may need a media player to play and manage the video content for projection mapping.
Affiliate links for purchasing equipment
Please note that the mentioned brands and models are for reference purposes and do not constitute specific endorsements. You can find these products and other recommended options on various online platforms. Consider using affiliate links provided by reputable manufacturers or retailers to support the creators and their content.
9. Timestamps for Different Parts of the Video
Timestamps are valuable tools for viewers to navigate through a video tutorial easily. Here are the timestamps for different parts of the video:
Timestamps for introduction and overview
- 00:00 Introduction
- 00:53 Part 1
- 02:45 Part 2
- 05:59 Part 3
Timestamps for tutorial sections
- 09:12 Setting up the projector
- 12:45 Installing and configuring CapCut
- 15:28 Preparing the props for projection mapping
- 18:07 Creating a seamless projection mapping setup
- 20:56 Synchronizing AtmosFx animations with CapCut
- 24:15 Tips for achieving stunning projection mapping effects
- 26:43 Testing and adjusting the projection mapping setup
- 29:10 Finalizing the DIY projection mapping project
Timestamps for troubleshooting and adjustments
- 32:18 Considerations for outdoor projection mapping
- 34:52 Choosing the right location
- 37:21 Dealing with ambient light
- 40:05 Weatherproofing the setup
- 42:48 Securing the equipment
- 45:10 Introduction to various props for projection mapping
- 48:27 Using ghosts and pumpkins for Halloween-themed effects
- 51:03 Exploring other prop options for different themes
- 54:29 Overview of free projection mapping software options
- 57:12 Benefits of using free software
- 59:45 Recommendation and demonstration of a free software
- 01:02:30 Introduction to CapCut features and capabilities
- 01:05:21 Step-by-step guide to using CapCut for projection mapping
- 01:08:47 Tips and tricks for enhancing projection mapping using CapCut
- 01:11:15 Projector options for projection mapping
- 01:14:06 Additional equipment for seamless setup
- 01:17:02 Recommended brands and models
- 01:19:35 Affiliate links for purchasing equipment
By providing specific timestamps, viewers can easily access the relevant sections of the video tutorial based on their individual needs and interests.
10. Conclusion
In conclusion, this comprehensive tutorial has provided a step-by-step guide to creating stunning AtmosFx Projection Mapping using CapCut. By following the instructions and guidelines outlined in this article, you can transform any space into a captivating visual experience. Utilize the power of projection mapping, explore various prop options, and experiment with free software to unleash your creativity and bring your imagination to life. Remember to consider outdoor projection mapping considerations, choose the right equipment, and use timestamps to navigate through the tutorial efficiently. With dedication and practice, you can achieve remarkable projection mapping effects and inspire future projects in this exciting field.