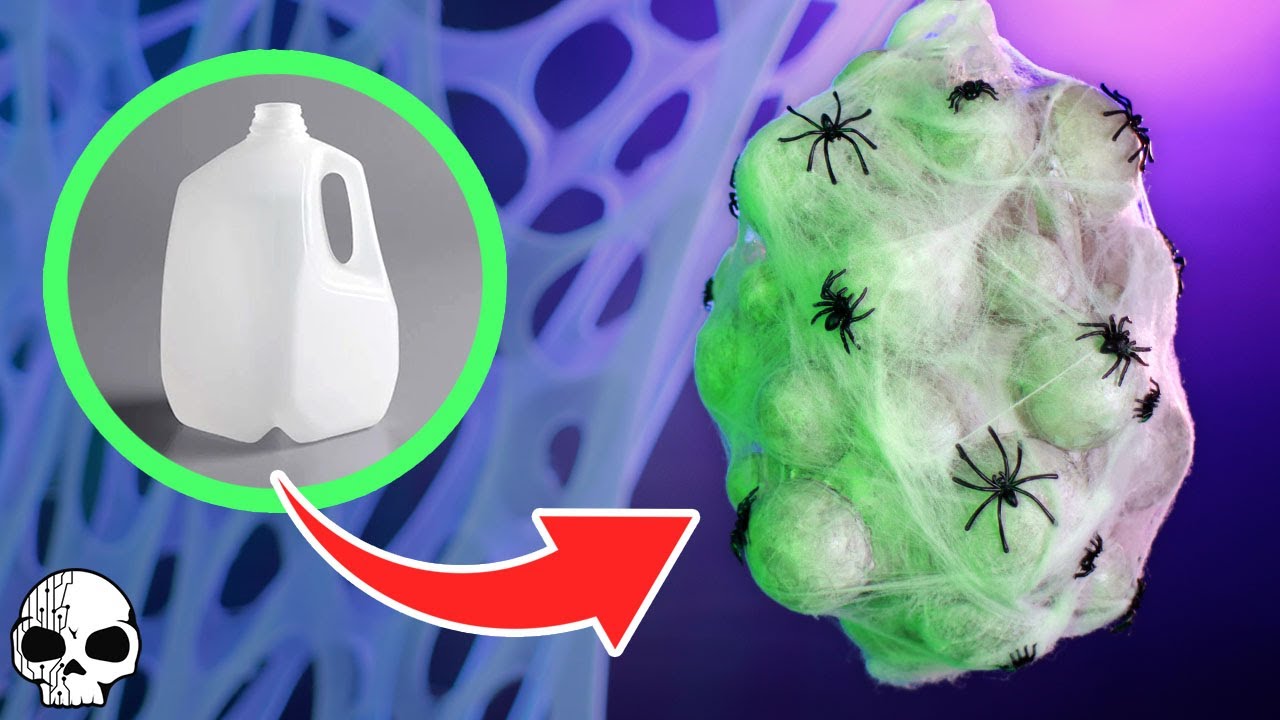
If you’re looking to add a spooky touch to your Halloween decorations, why not try creating your own Halloween Spider Egg Sack? In this DIY tutorial by Wicked Makers, Jay and Jaimie show you how to transform simple milk jugs into creepy spider egg sacs that will surely send shivers down your spine. Using recycled materials and some paint, you can create a fun and easy Halloween prop that will make a great addition to your haunted house setup.
With just a few tools and materials, you can bring to life these gross yet fascinating spider egg sacs that are guaranteed to be a hit at your Halloween party. Whether you’re a fan of spiders or not, this project is a great way to get into the Halloween spirit and impress your friends and family with your DIY skills. So gather your supplies, follow the step-by-step instructions, and get ready to add a touch of spookiness to your Halloween decor this year!
Materials Needed
For this DIY project, you will need a plastic milk jug or water jug along with some recycled water bottles. These materials will form the base of your Halloween spider egg sacks.
Tools Required
To transform your plastic jugs into creepy spider egg sacs, you will need scissors to cut out shapes and a hot glue gun to put everything together effectively.
Preparation Steps
Before getting started on creating your Halloween spider egg sacks, it is important to remove any labels from the plastic jug. This will ensure a clean and polished final result. Next, you will need to cut out a portion of the jug to create the egg sack shape that you desire.

Creating the Egg Sack
To form the egg sack shape, you will apply hot glue to the cut-out portion of the jug. This will help create a round, lumpy appearance. You will also use clear half-fillable Christmas ornaments to mimic spider eggs and give your creation an authentic look.
Base Coating
After shaping your egg sacks, the next step involves applying a base coat of white spray paint to the surface. This white base will provide a blank canvas for adding intricate details later on.
Adding Detail
To add depth and texture to your egg sacks, apply washes of black and green paint. Focus on accentuating the bubbliness and grossness of the eggs. These paint details will bring your Halloween decorations to life. Additionally, consider incorporating spider webs to enhance the creepy effect of the egg sacks.
Adding Spider Babies
For an extra spooky touch, glue small spider toy figures onto the egg sacks. These spider babies will give your decorations a realistic and chilling vibe, perfect for Halloween.
Optional Light Feature
If you want to take your egg sacks to the next level, consider inserting string lights into them for a glowing effect. This optional feature will make your decorations stand out, especially in dimly lit spaces.
Final Touches
Once you have completed all the painting, detailing, and adding spider babies, it’s time to hang the finished egg sacks as Halloween decorations. These eerie props will add a creepy touch to your house and yard during the Halloween season, delighting both guests and trick-or-treaters.
Conclusion
In conclusion, creating Halloween spider egg sacks is a fun and easy DIY project that anyone can enjoy. By using simple materials like plastic jugs and water bottles, along with basic tools like scissors and a hot glue gun, you can make spooky decorations that will impress everyone. Transform your space into a haunted house with these unique props this Halloween season. Prepare to be both scared and amazed by your crafty skills!


